About vExpo/vExpo Knowledge Base/Lobby/Create

| Step by Step Process | Roles and Responsibilities | User Flow Diagram |
Planning and Creating a vExpo Lobby
Follow the steps below to plan your event’s vExpo lobby. See section: Who Can Use vExpo?
1. Choose your Lobby
Select the type of lobby you would like to use for your event, based on design preferences and event requirements.
Lobby 1: Standard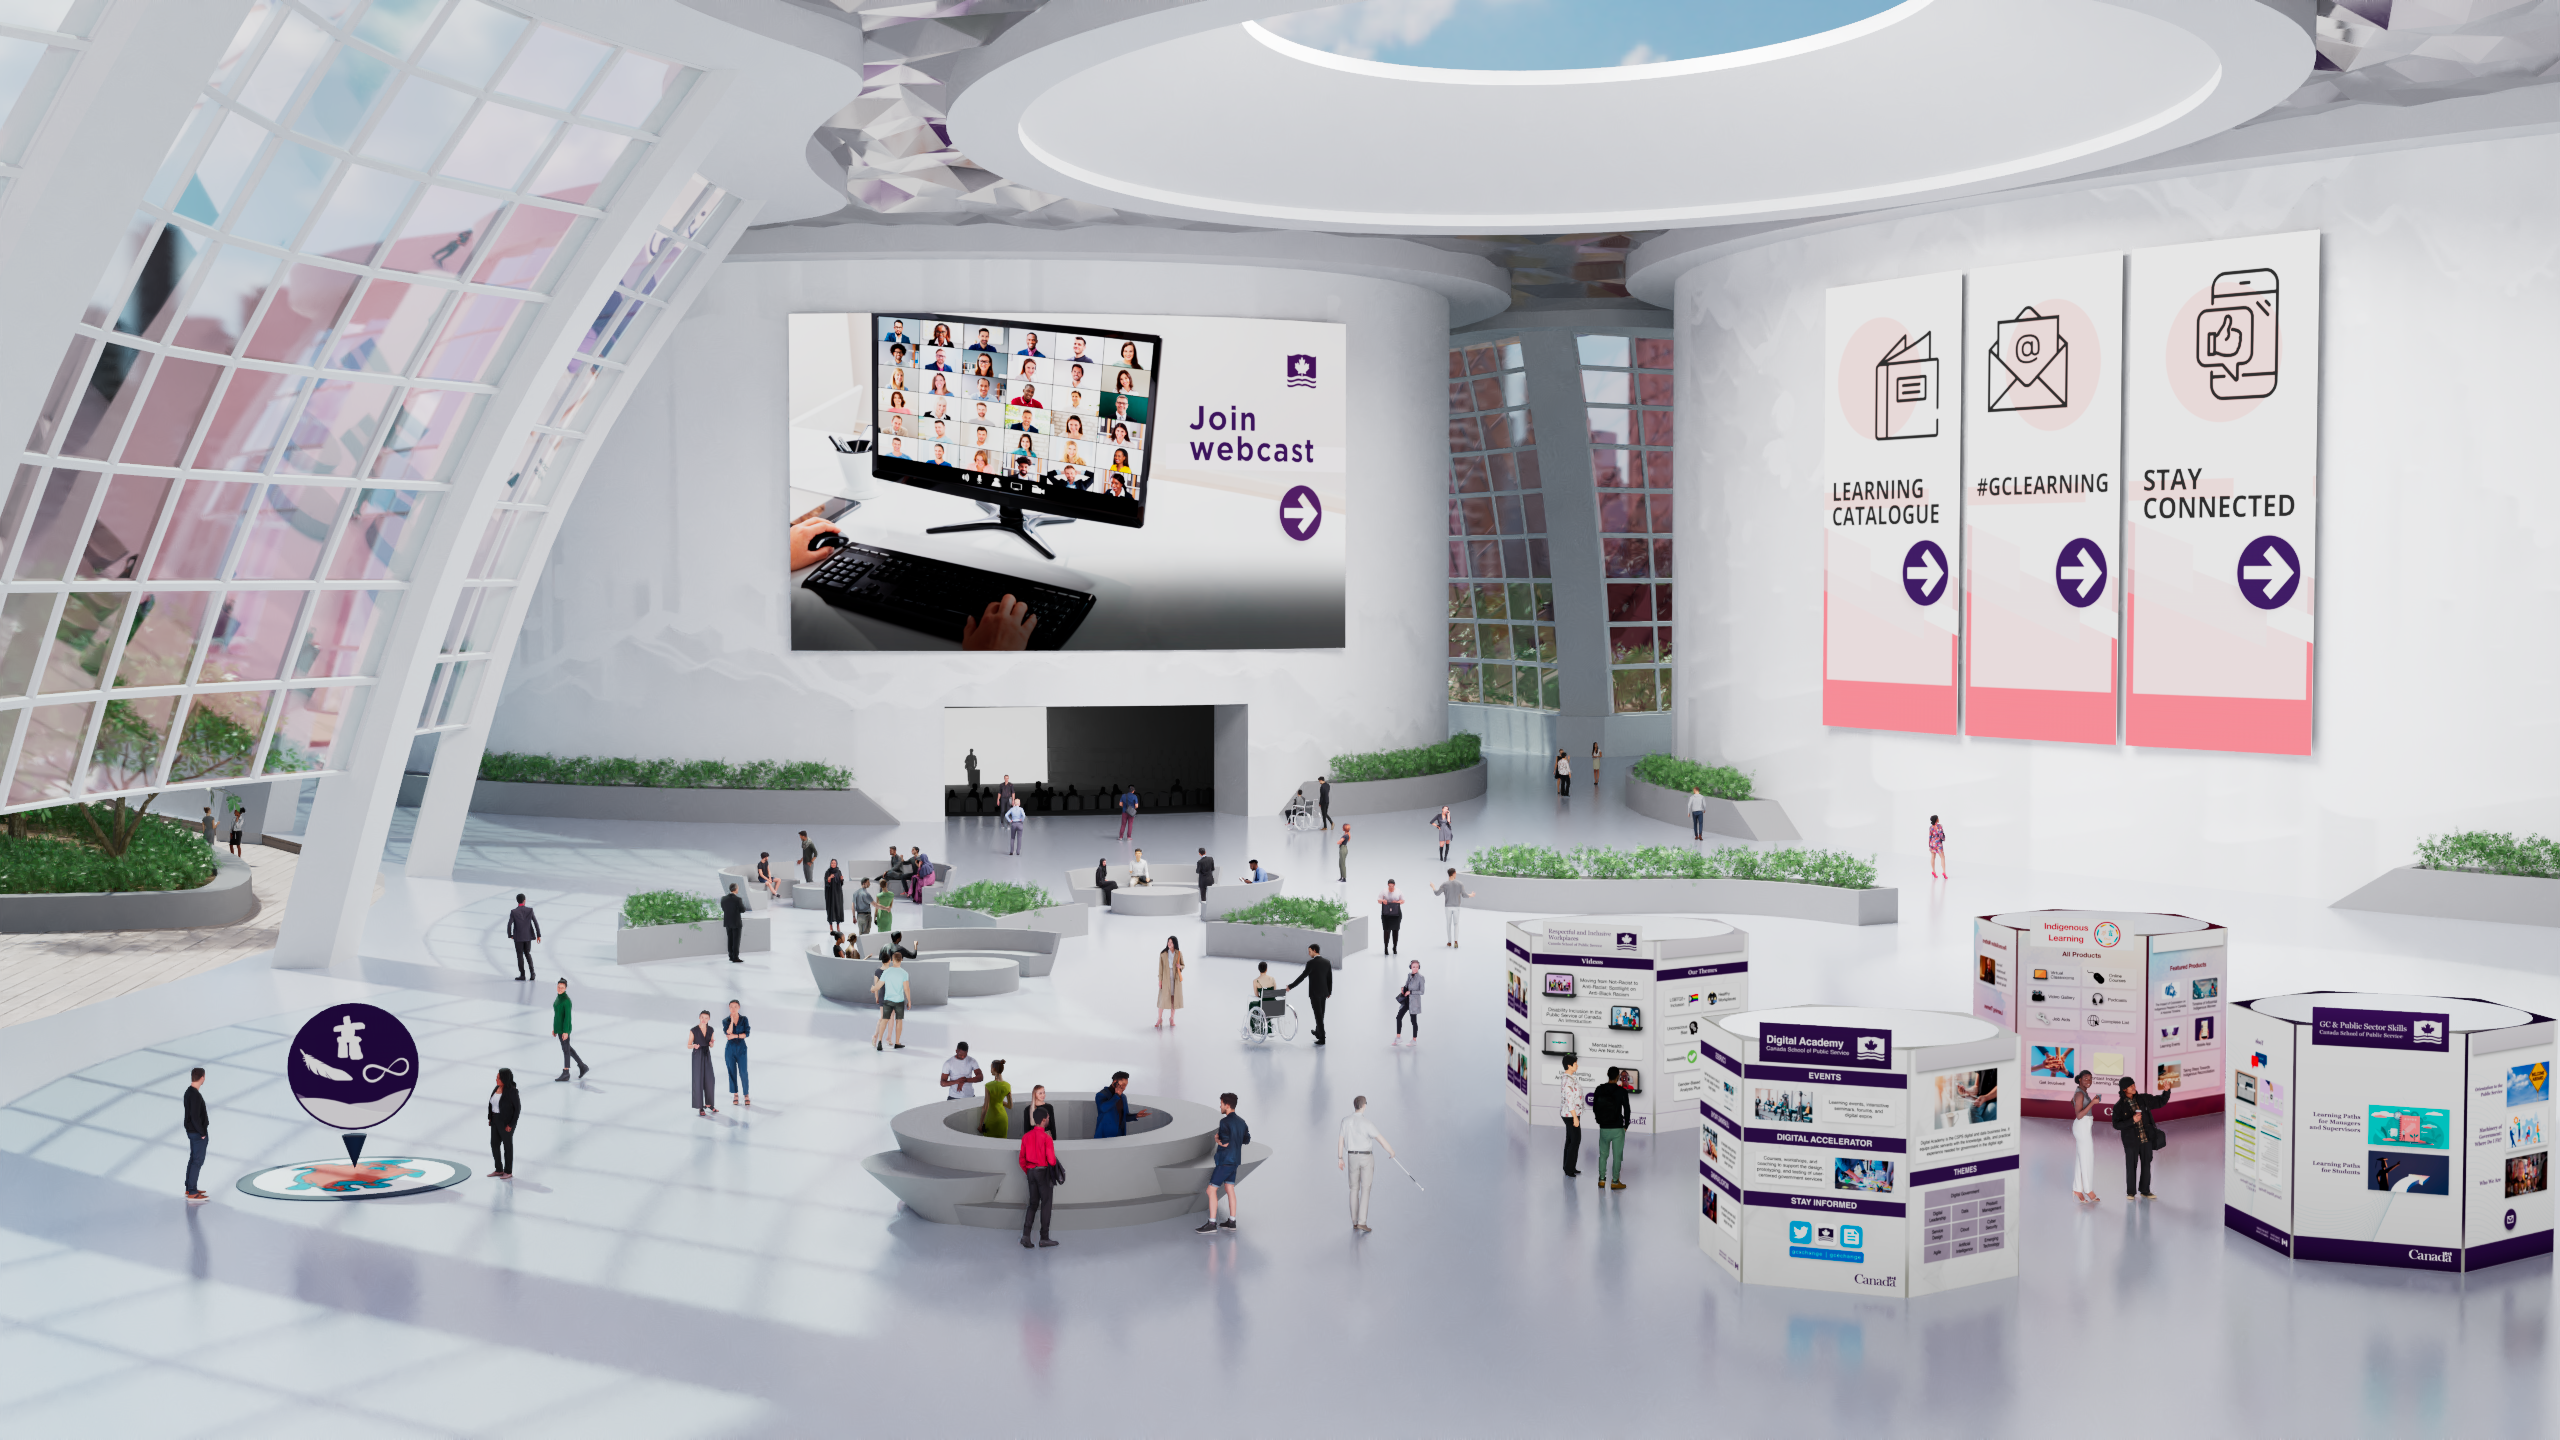
Accommodates up to 5 banners (with or without links) Includes links to:
|
Lobby 2: Low Poly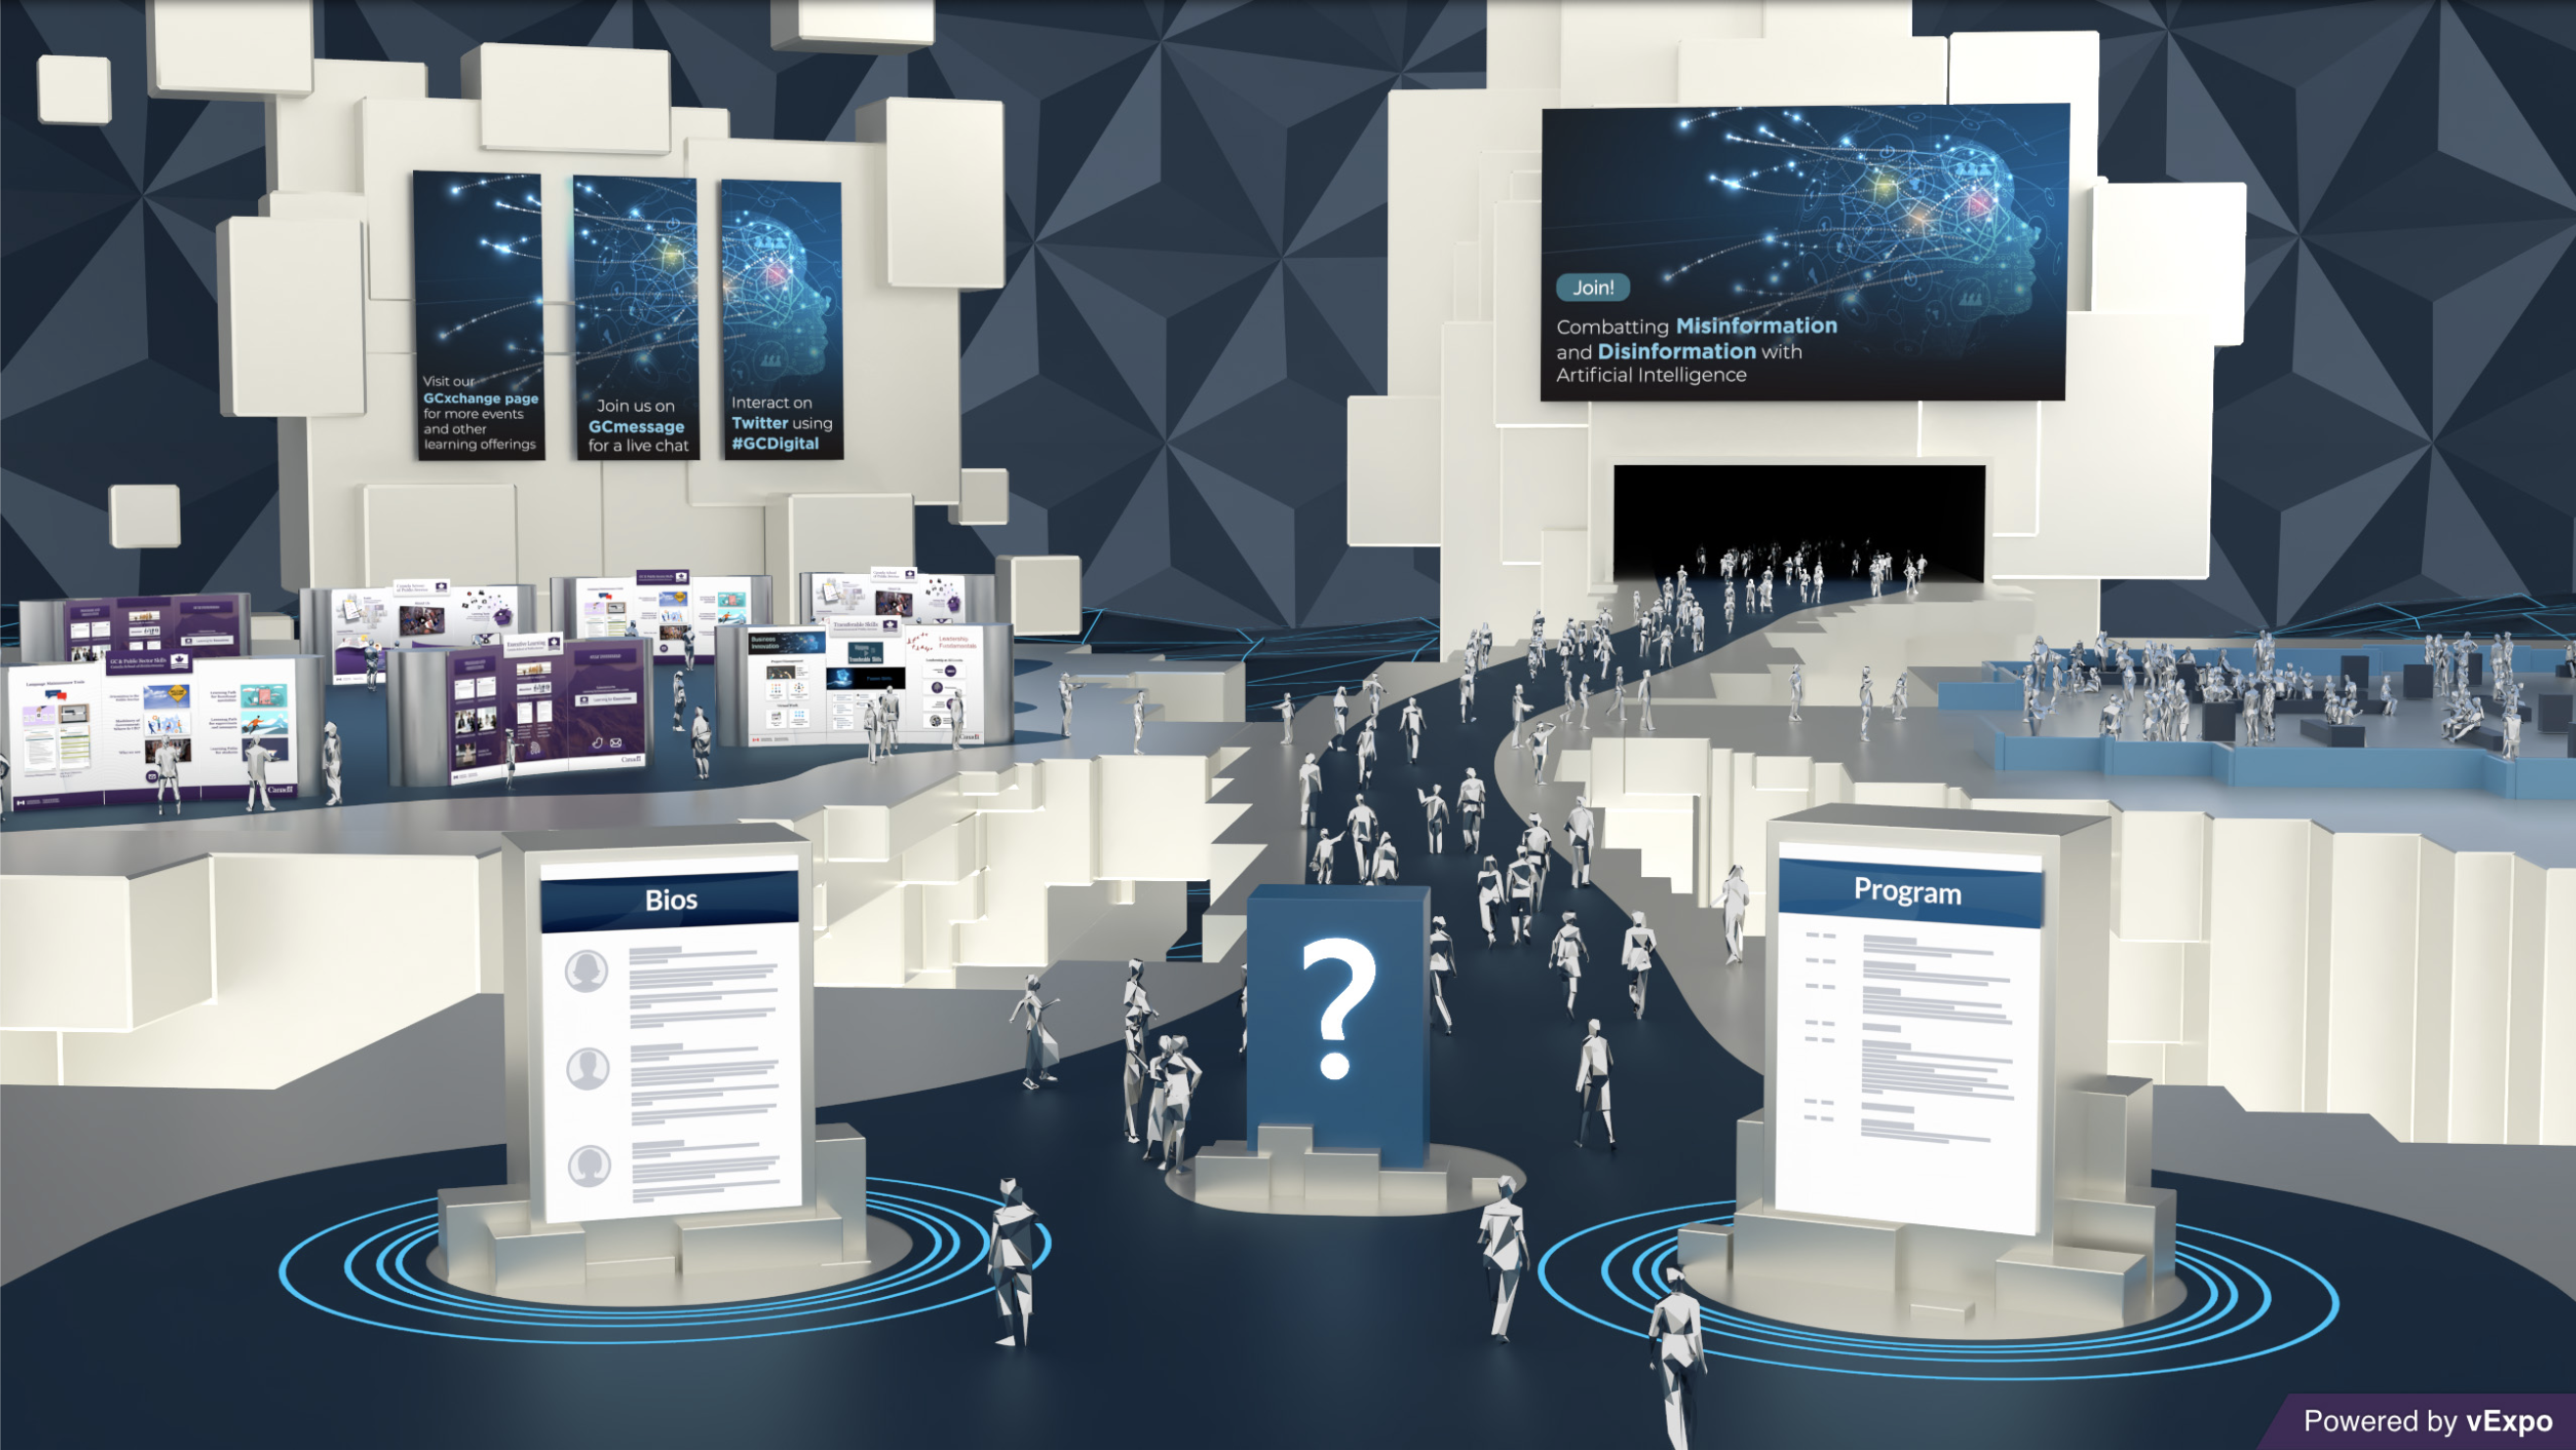
Accommodates up to 3 banners (with or without links) Includes links to:
|
Lobby 3: Modern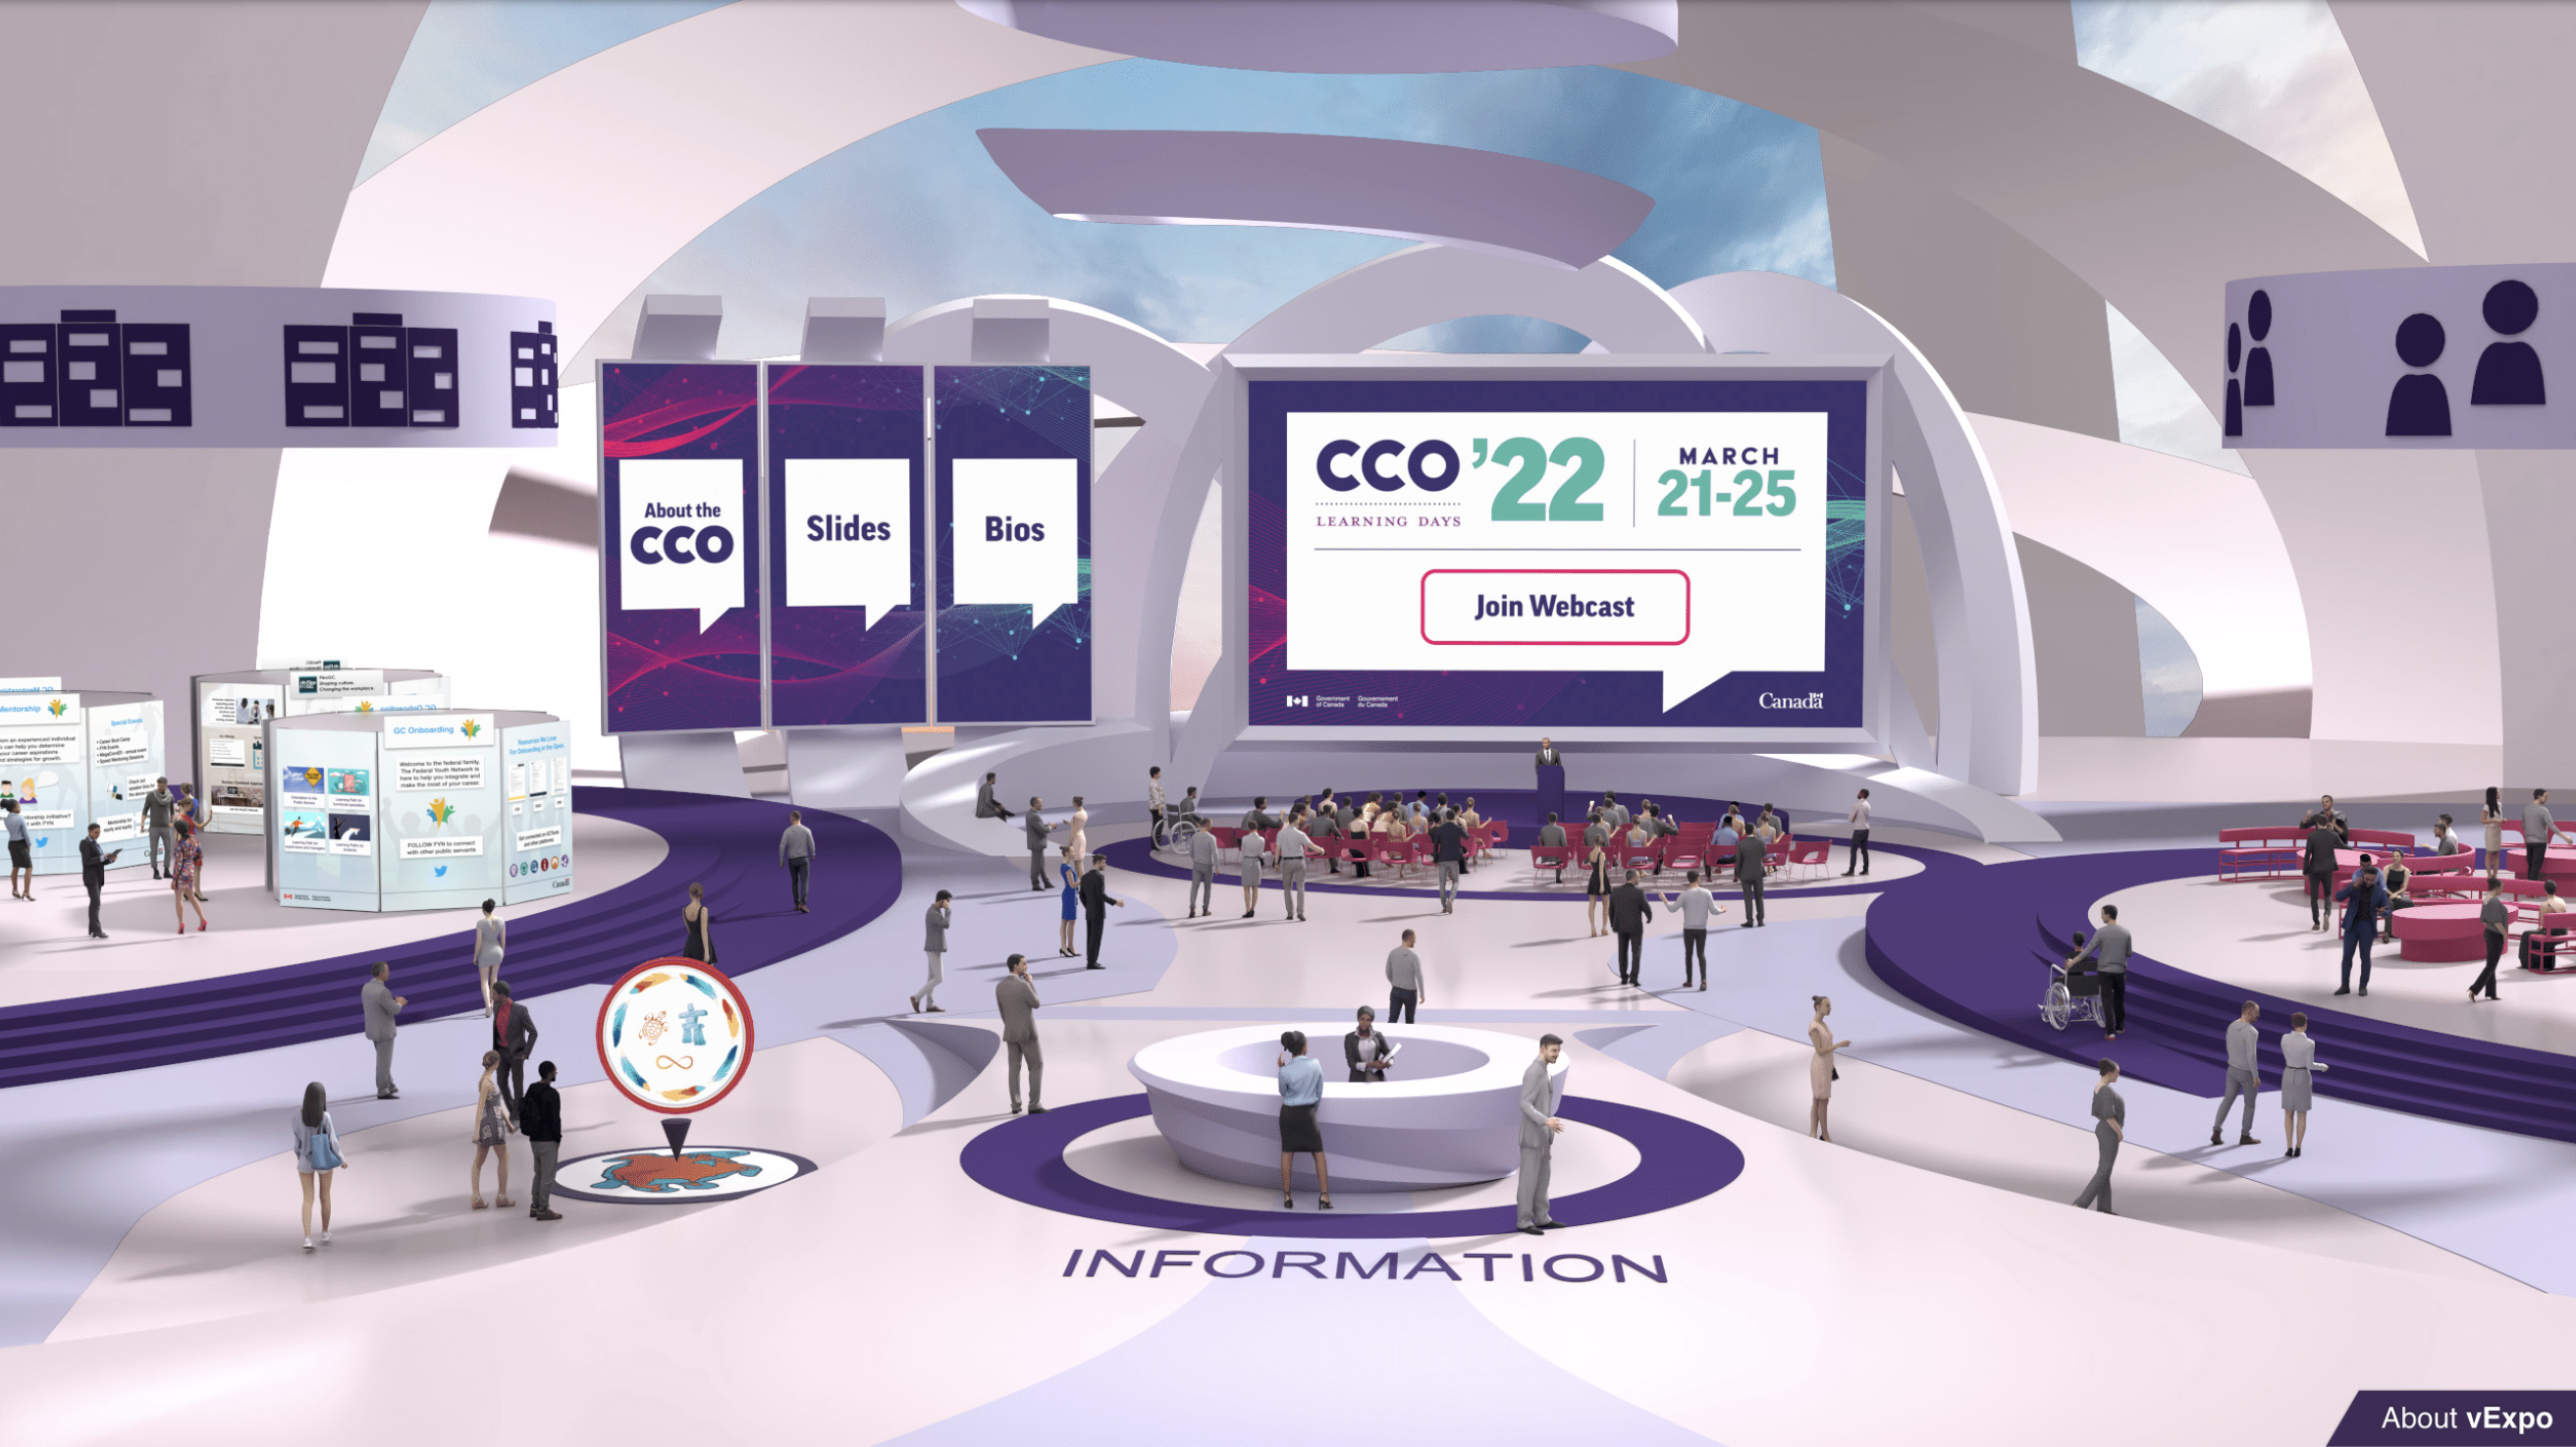
Accommodates up to 3 banners (with or without links) Includes links to:
|
2. Design your Lobby Visuals
The lobby images for the banners and the presentation screen can be tailored to feature your event’s visual identity and match other communication products (i.e. event invitation, presentations, etc.).
As per the Roles and Responsibilities, you are responsible for developing and providing the final lobby images (banners and presentation screen) to the vExpo team so that they can be integrated into the lobby.
Follow the lobby image specifications and guidelines to create the images. Note: Make sure all images are in a .png format.
3. Determine which kiosks to include in the lobby’s exhibit area
When planning your event lobby, you can include new or existing kiosks as part of the exhibit area, based on the event’s theme and partners. As the event host, you are responsible for confirming the kiosks to be included in the vExpo. This includes working directly with your event partners to determine if new kiosks are required, as well as reaching out to existing kiosk owners to request their approval to include their kiosk in your event. See the vExpo kiosk catalog to view existing kiosks that can be included for your event.
- Partners/Teams requiring a new kiosk can follow the steps for Planning and creating your new kiosk
- Partners/Teams requiring changes to an existing kiosk can follow the steps for Updating an Existing Kiosk
4. Fill out the Lobby Content Submission Form
Review and fill-out the vExpo Lobby Content Submission Form to confirm the details of your lobby, including the lobby type, color scheme, content, links, and list of kiosks.
Note: Make sure to conduct an internal review of your visuals, content, and links prior to submitting your content form, including language and accessibility review. See vExpo Content Requirements.
5. Submit your files
Send your lobby images files in .png format (from step 2) and the lobby content submission form (from step 4) to the Tech Lab’s generic mailbox: techlab-labtech@csps-efpc.gc.ca