Important: The GCConnex decommission will not affect GCCollab or GCWiki. Thank you and happy collaborating!
Difference between revisions of "User:Annalucia.zablah/sandbox5"
| Line 9: | Line 9: | ||
|- valign="top" | |- valign="top" | ||
| − | | style="border-left: 10px solid #695282; box-shadow: 0 4px 8px 0 rgba(0, 0, 0, 0.2), 0 6px 20px 0 rgba(0, 0, 0, 0.19); color: black; background-color: white; font-size: | + | | style="border-left: 10px solid #695282; box-shadow: 0 4px 8px 0 rgba(0, 0, 0, 0.2), 0 6px 20px 0 rgba(0, 0, 0, 0.19); color: black; background-color: white; font-size:1em;" | |
<span style="font-size: 1.5em;">'''Lobby 1: Standard'''</span><br> | <span style="font-size: 1.5em;">'''Lobby 1: Standard'''</span><br> | ||
<br> | <br> | ||
| Line 32: | Line 32: | ||
|- valign="top" | |- valign="top" | ||
| − | | style="border-left: 10px solid #695282; box-shadow: 0 4px 8px 0 rgba(0, 0, 0, 0.2), 0 6px 20px 0 rgba(0, 0, 0, 0.19); color: black; background-color: white; font-size: | + | | style="border-left: 10px solid #695282; box-shadow: 0 4px 8px 0 rgba(0, 0, 0, 0.2), 0 6px 20px 0 rgba(0, 0, 0, 0.19); color: black; background-color: white; font-size:1em;" | |
<span style="font-size: 1.5em;">'''Lobby 2: Low Poly'''</span><br> | <span style="font-size: 1.5em;">'''Lobby 2: Low Poly'''</span><br> | ||
<br> | <br> | ||
| Line 56: | Line 56: | ||
|- valign="top" | |- valign="top" | ||
| − | | style="border-left: 10px solid #695282; box-shadow: 0 4px 8px 0 rgba(0, 0, 0, 0.2), 0 6px 20px 0 rgba(0, 0, 0, 0.19); color: black; background-color: white; font-size: | + | | style="border-left: 10px solid #695282; box-shadow: 0 4px 8px 0 rgba(0, 0, 0, 0.2), 0 6px 20px 0 rgba(0, 0, 0, 0.19); color: black; background-color: white; font-size:1em;" | |
<span style="font-size: 1.5em;">'''Lobby 3: Modern'''</span><br> | <span style="font-size: 1.5em;">'''Lobby 3: Modern'''</span><br> | ||
<br> | <br> | ||
| Line 75: | Line 75: | ||
|} | |} | ||
| + | |||
| + | '''2.Design your Lobby Visuals''' | ||
| + | |||
| + | The lobby images for the banners and the presentation screen can be tailored to feature your event’s visual identity and match other communication products (i.e. event invitation, presentations, etc). | ||
| + | |||
| + | As per the [https://expo.da-an.ca/en/#/2207/lobby Roles and Responsibilities], you are responsible for developing and providing the final lobby images (banners and presentation screen) to the vExpo team so that they can be integrated into the lobby. | ||
| + | |||
| + | Follow the [https://drive.google.com/uc?id=16W9fLkK5wNLEjdV5DBViu3qlftRJ518R&export=download lobby image specifications and guidelines] to create the images. Note: Make sure all images are in a .jpg format. | ||
Revision as of 17:06, 8 February 2023
Planning a new Lobby
Follow the steps below to plan your event’s vExpo lobby. See section: Link
1.Choose your Lobby
Select the type of lobby you would like to use for your event, based on design preferences and event requirements.
|
Lobby 1: Standard 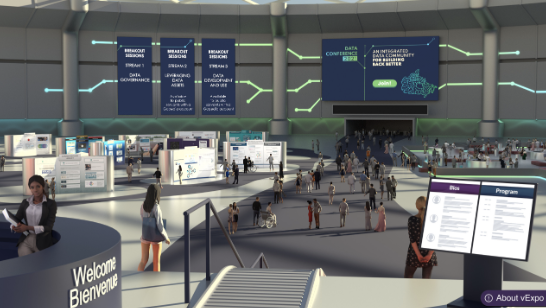 Includes links to:
Example of a live "Standard" lobby: Lobby Example
|
|
Lobby 2: Low Poly 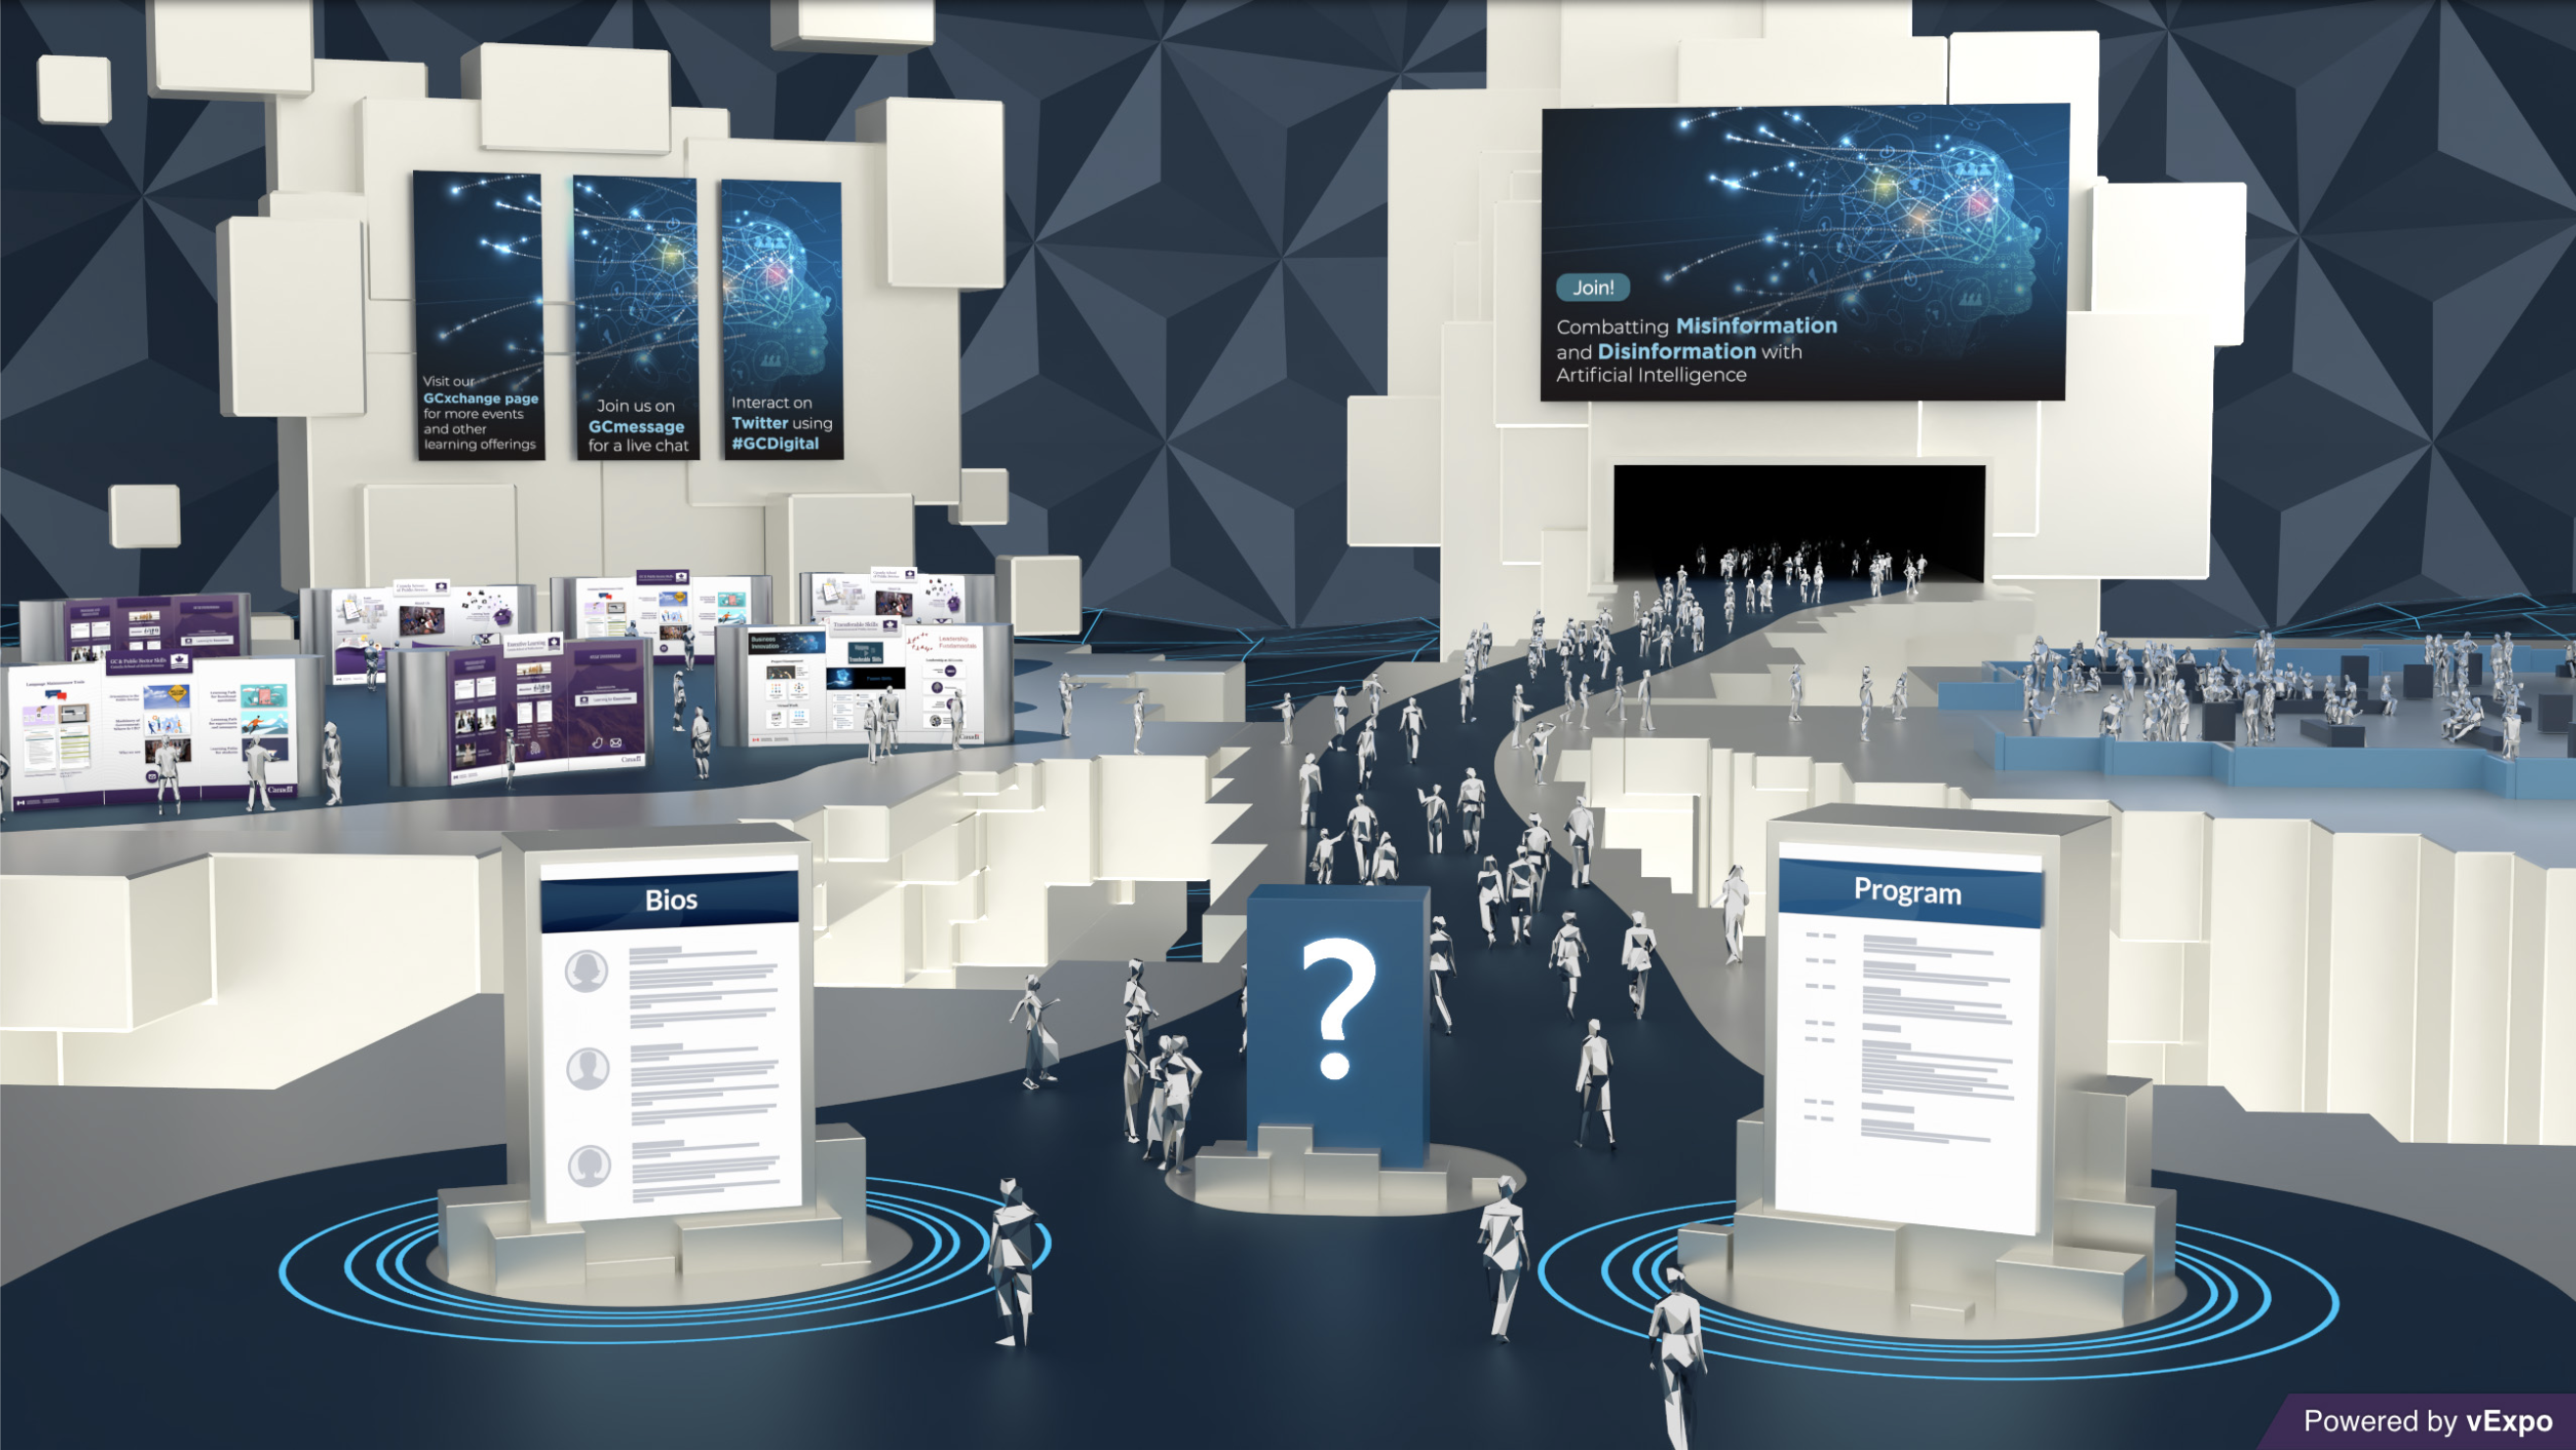 Includes links to:
|
|
Lobby 3: Modern 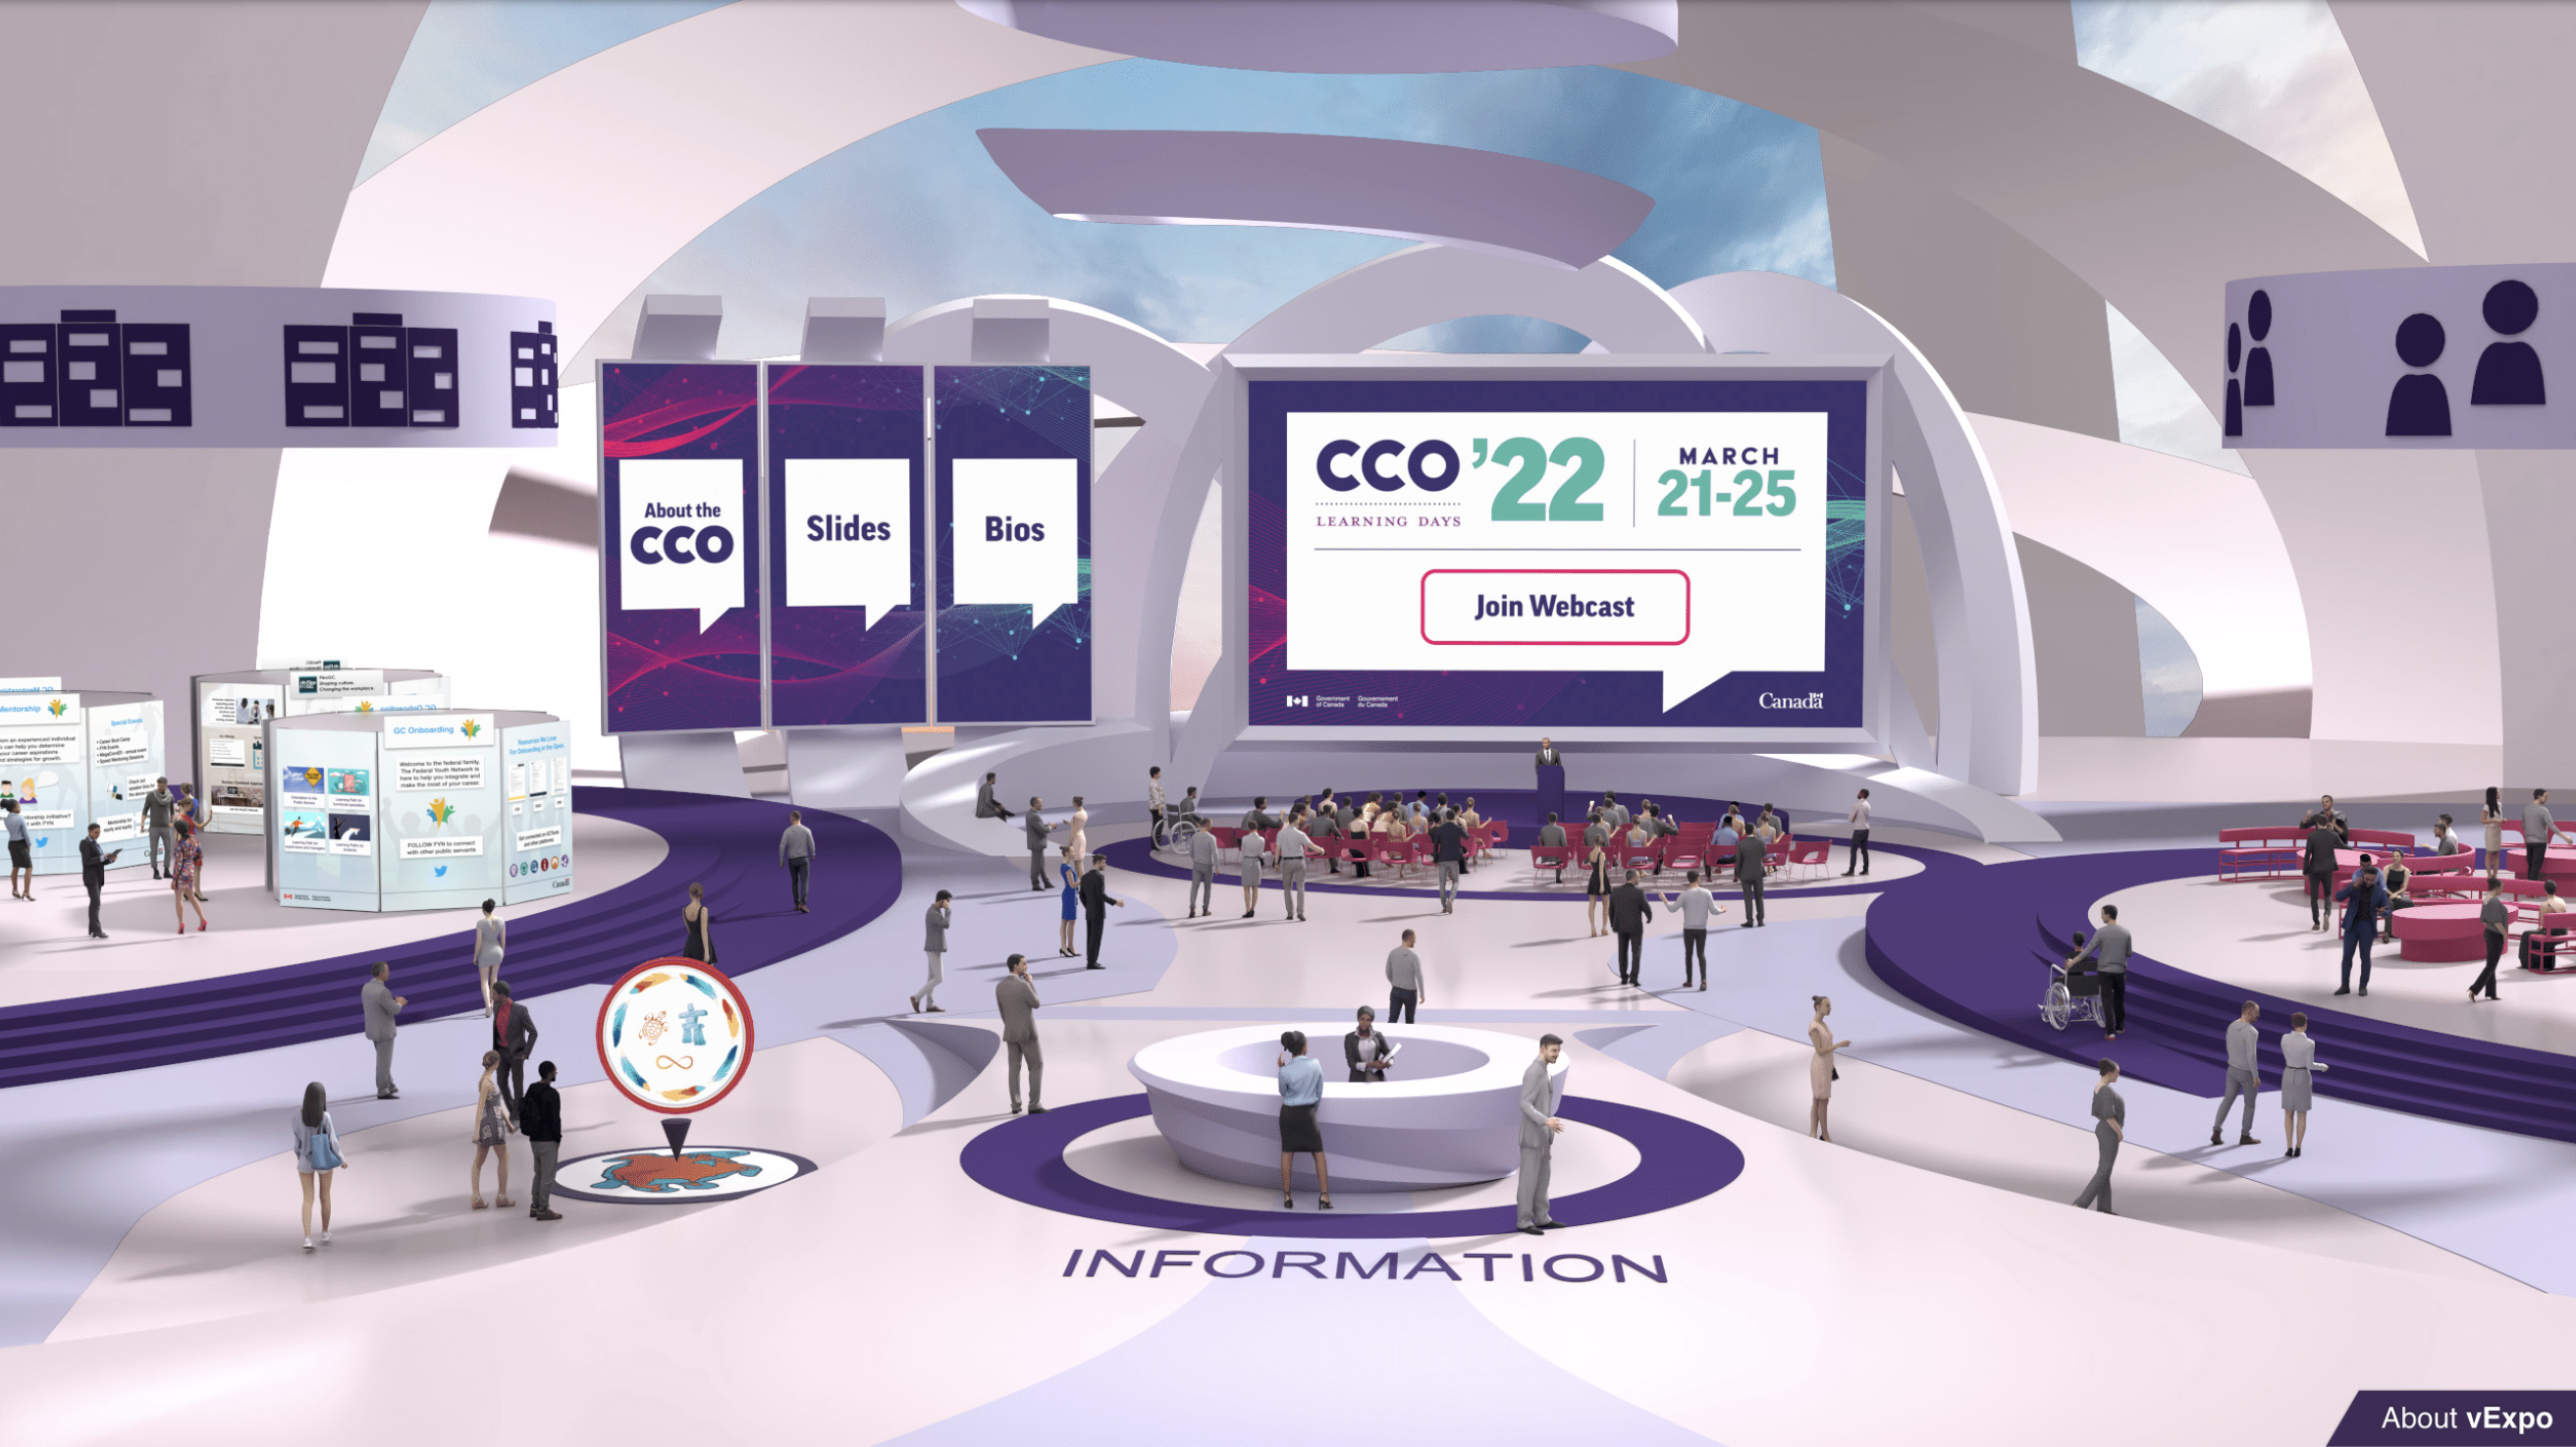 Includes links to:
|
2.Design your Lobby Visuals
The lobby images for the banners and the presentation screen can be tailored to feature your event’s visual identity and match other communication products (i.e. event invitation, presentations, etc).
As per the Roles and Responsibilities, you are responsible for developing and providing the final lobby images (banners and presentation screen) to the vExpo team so that they can be integrated into the lobby.
Follow the lobby image specifications and guidelines to create the images. Note: Make sure all images are in a .jpg format.