Important: The GCConnex decommission will not affect GCCollab or GCWiki. Thank you and happy collaborating!
Qualiware Tips and Tricks
| À l’heure actuelle, cette page est en cours de développement initial. Son contenu devrait être considérablement modifié d’ici peu de temps. This page is currently under its initial development. Its contents should change significantly over a short period of time. |
Look and Feel
Relationship Connector Labels
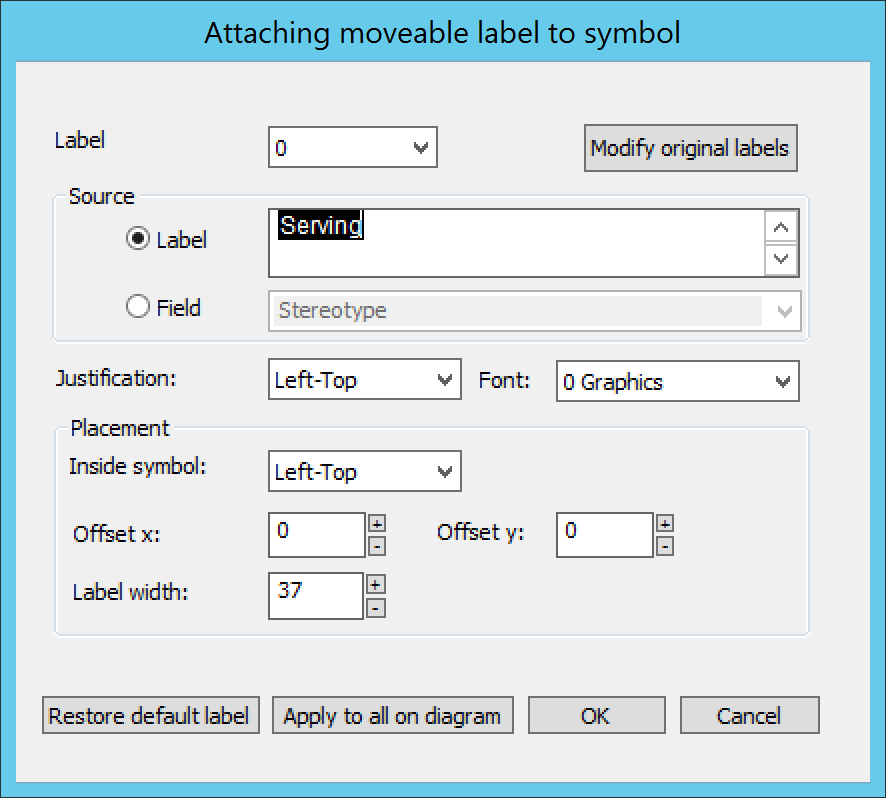
Do not rename the relation instead, set the relationship connector "Symbol Label"
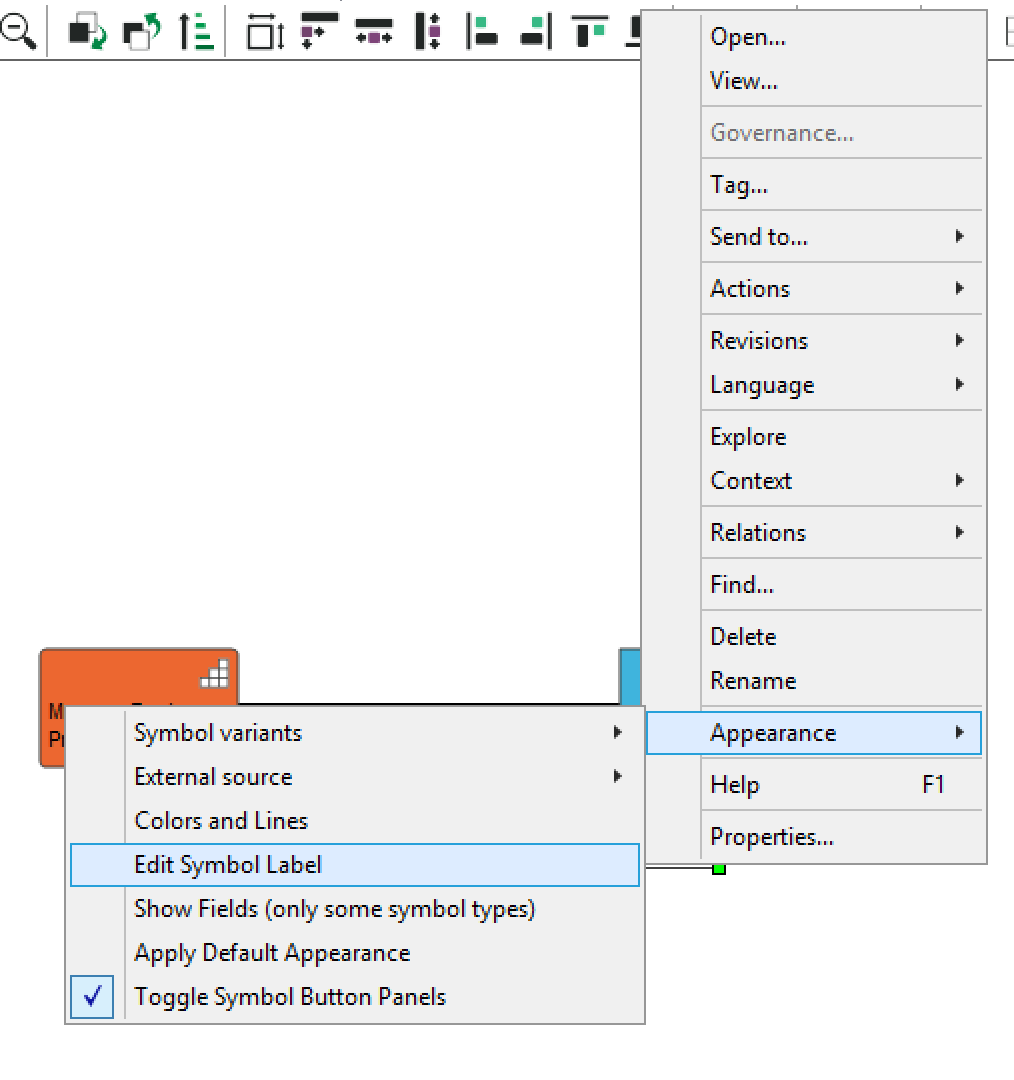
- Right click the relationship connector, select "Appearance", select "Edit System Label"
- Set the label, Click Ok
Resetting the look and feel of elements and views
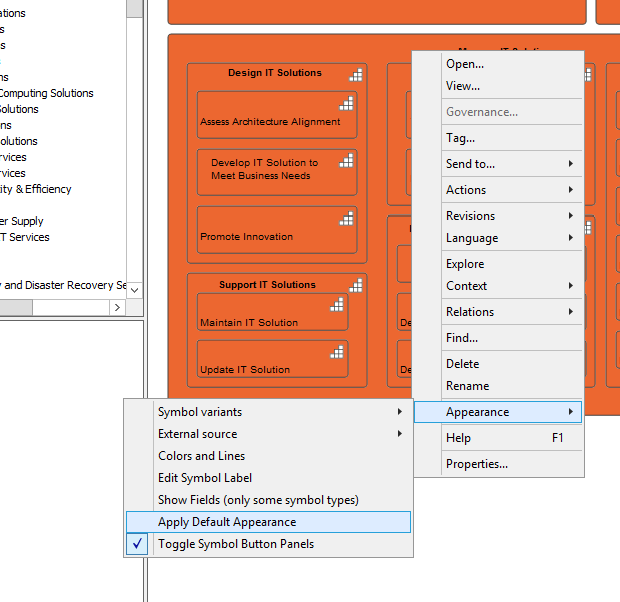
- Inside a view, right click, select Appearance, select "Apply default appearance"
Functionality
Quick Add
To quickly drop a similar type of element that has already been created. Hold down shift and double click said element. A second element will appear.
View radar map/ Preview mode
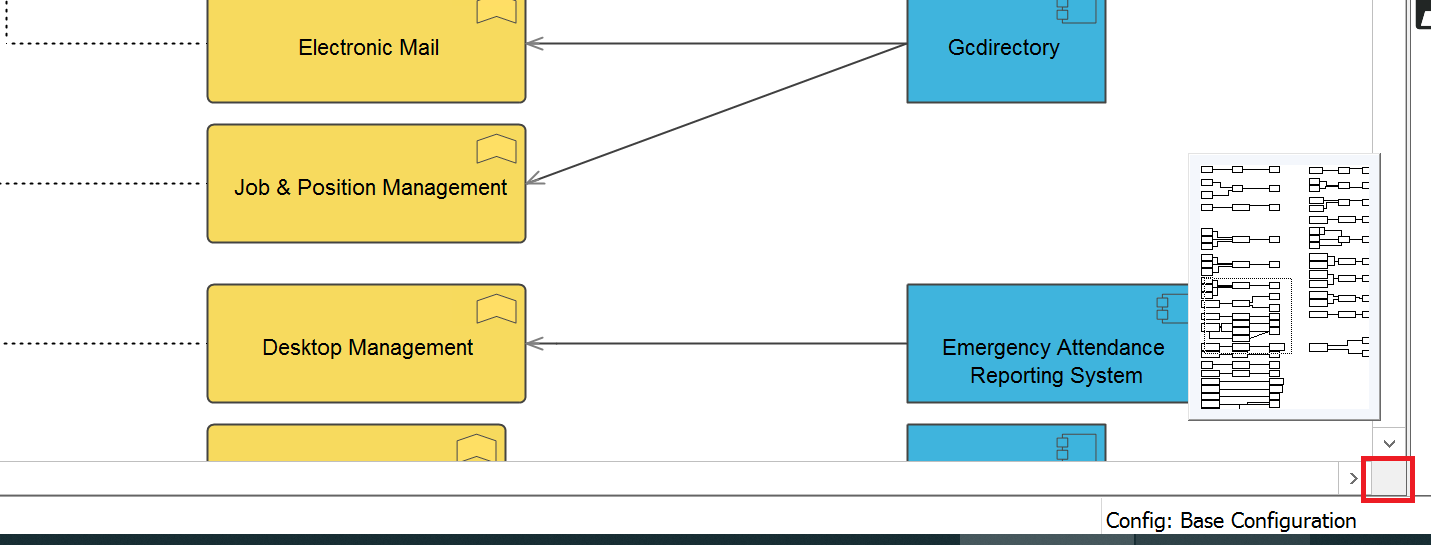
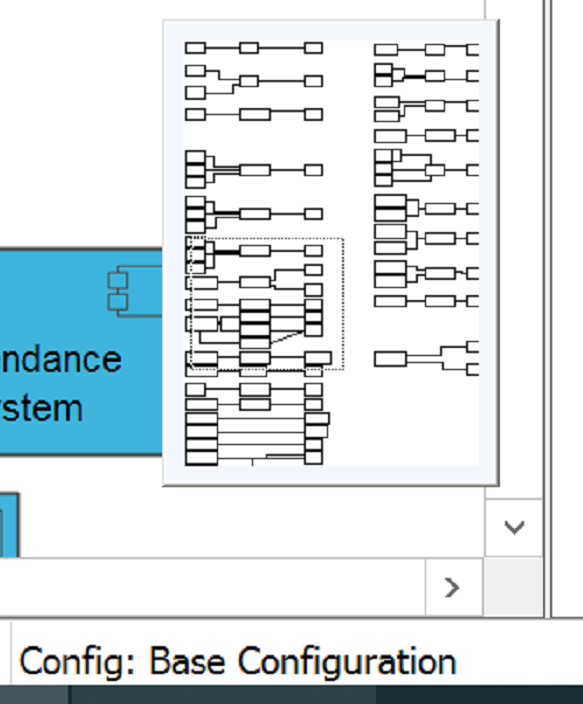
The radar map helps you to navigate large models. To use it click and hold in the area(not sure if this area has a name) show in the screen shot. Its in the bottom right corner of the viewing window, where the scroll bars meet
The radar map will appear and you can drag the view around.
Redrawing a model and its connections.
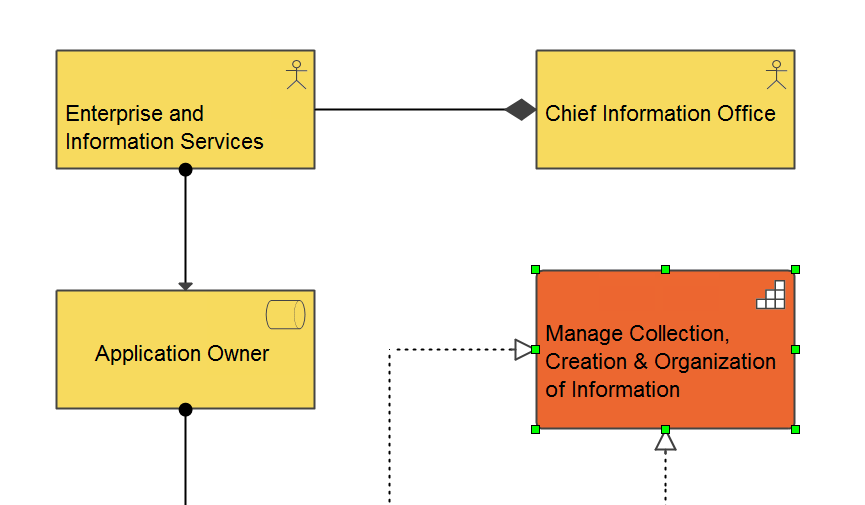
If you have create a view and you want to use it somewhere else, you can get Qualiware redraw the diagram.
- Select and copy the element you would like to re draw.
- In a new view, paste the copied element.
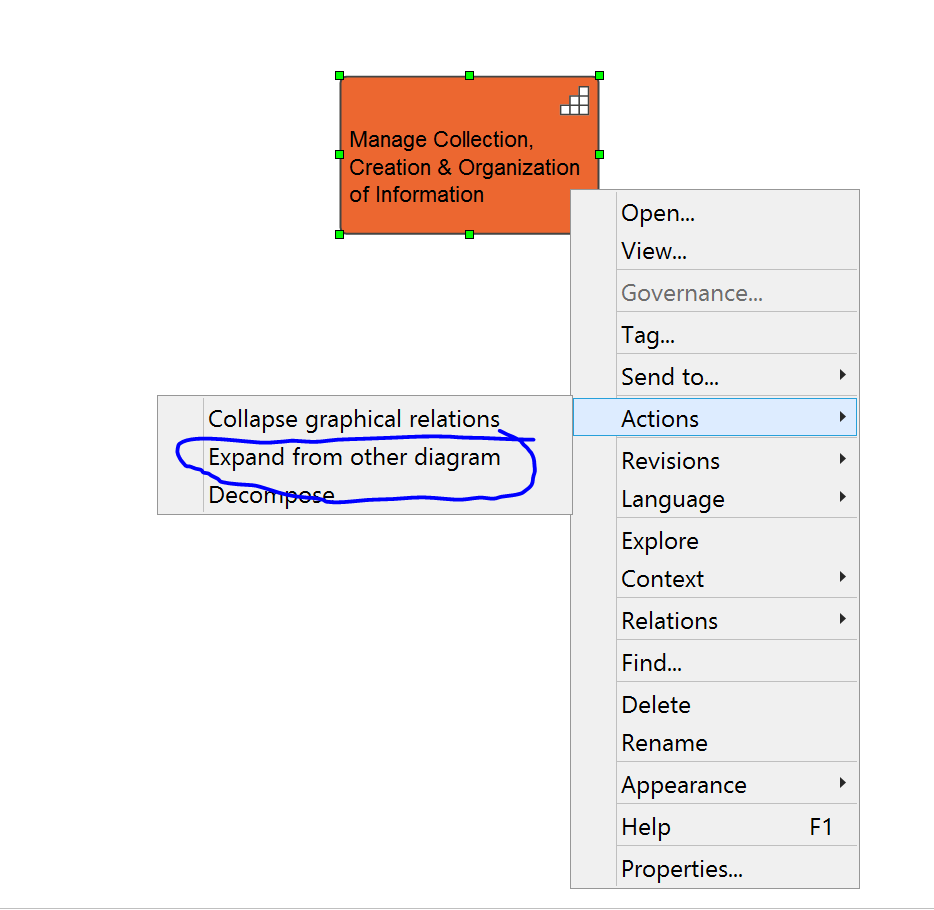
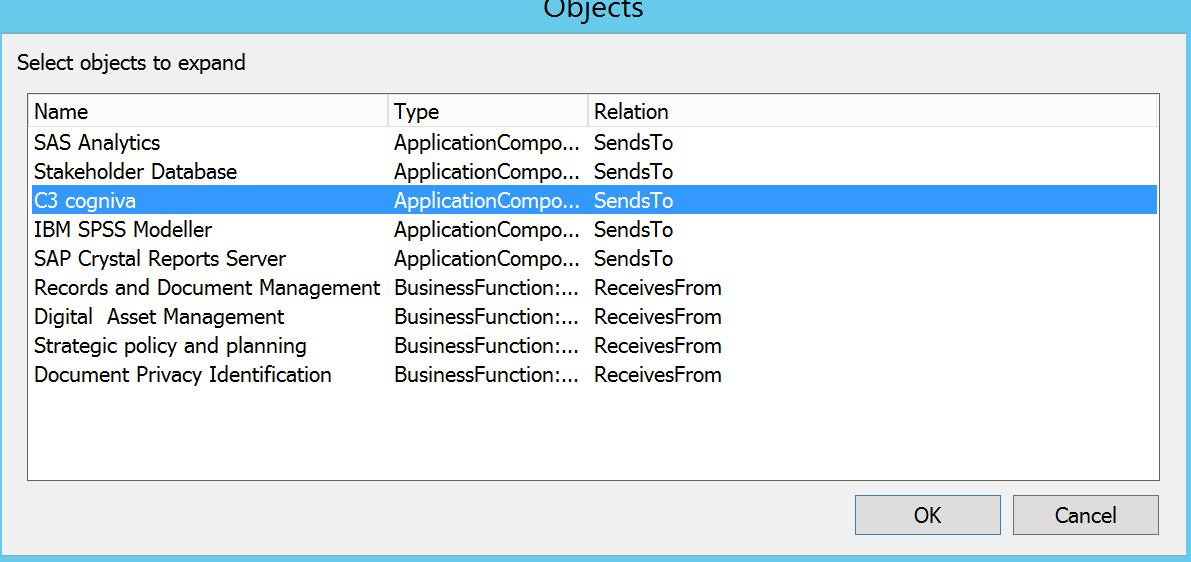
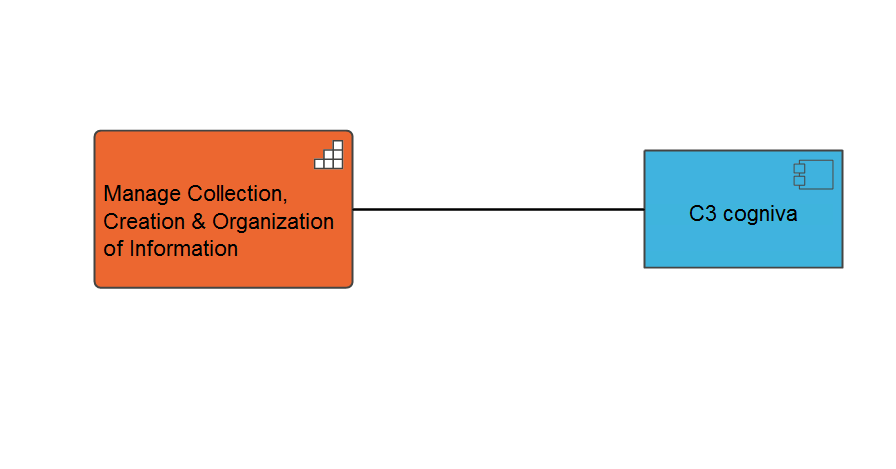
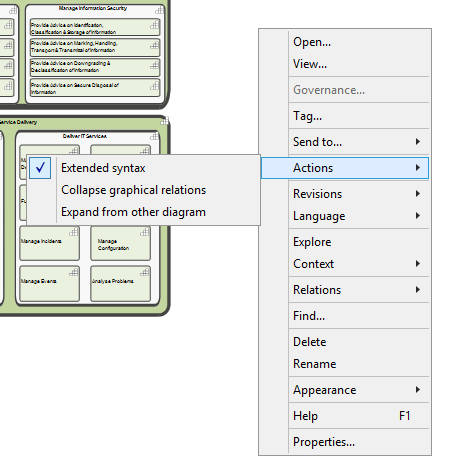
- Right click the element, Select Actions, Expand from other diagram
- Select the view that contains the elements you want to redraw, click Ok.
- Qualiware will recreate the relationships
[Warning] If the view you're trying to recreate has quite a few connections then this redrawing process will take a long time.
Fixing relationship connectors
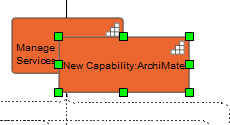
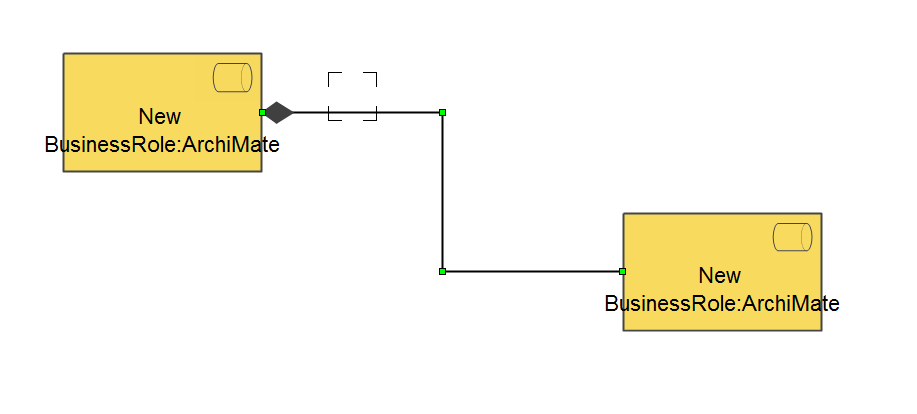
If you have a connector that looks like this
Select the connector and pound the spacebar a couple of times.
Reuse/Duplicate a view
- Create a blank model.
- Select the model you wish to duplicate
- Right click, hold and drag a model over top the model you want to duplicate,.
- Release the right click
- Open your view, you're done
Duplicate a view alternative 1a
- Select the model you want to copy
- Right click, hold and drag to white space in resource explorer
- Release right click
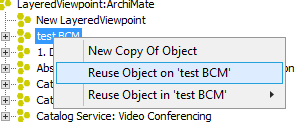
- Select "New Copy of Object"
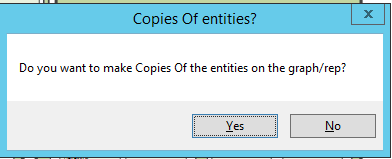
- Select Yes to create duplicate copies of elements in the model
- Select No to reuse the elements from the original model
- You should probably do this one ...
Keyboard Short Cuts
Shortcuts in bold are Most Used/ Most Useful
Text Editor
| F8 | Open the extended text editor for the selected field. Press F8 to close it again. |
| CTRL + N | Remove formatting from the selected text. |
| CTRL + B | Embolden the selected text. |
| CTRL + I | Italicize the selected text. |
| CTRL + U | Underline the selected text. |
| CTRL + D | Insert a picture with a link to a diagram in the repository. |
| CTRL + L | Insert a link to an object in the repository. |
| CTRL + T | Create a table. |
| CTRL + C | Copy the selected text or object. |
| CTRL + V | Insert the copied text or object. |
| CTRL + X | Cut out the selected text or object. |
| CTRL + Z | Undo. |
| CTRL + Y | Redo. |
| CTRL + F | Open the Search Dialog. |
| F3 | Go to the next item in search. |
| CTRL + A | Select everything. |
| CTRL + S | Save. |
Object/Symbol Property Dialog
| F8 | Open the extended text editor for the selected field. Press F8 to close it again. |
| CTRL + Tab | Go to the next field in the current properties tab. |
| CTRL + SHIFT + Tab | Go to the previous field in the current properties tab. |
| CTRL + PageDown | Switch to the next properties tab. |
| CTRL + PageUp | Switch to the previous properties tab. |
| Esc | Close the Properties tab. |
General QLM Shortcuts
| F1 | Open Help information pertaining to the selected object. |
| F2 | Rename the selected object. |
| F3 | Search. |
| F5 | Refresh the screen. |
| ALT + F4 | Exit QualiWare. |
Repository Explorer
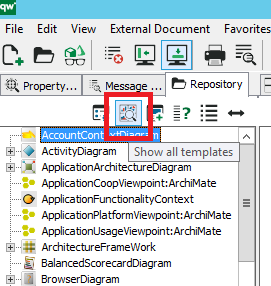
| Toggle whether all templates are shown in the repository explorer. | |
| Enter | Open the selected object. |
| CTRL + B | Open the properties for the selected object. |
| CTRL + L | Display all properties and links in the Message window for the selected object. |
| CTRL + F | Open the Search Dialog. |
| ALT + 1 | Open the previous revision of the selected object. |
| ALT + 2 | Open the revision dialog for the selected object. |
| ALT + 3 | Open the subsequent revision of the selected object. |
| ALT + 4 | Open the default revision dialog for the selected object. |
Canvas
| 1 | Reset the zoom level to default. |
| < | Zoom out. |
| > | Zoom in. |
| Z | Change the cursor to the zoom tool. |
| Shift + Z | Automatically zoom to view the entirety of the model. |
| CTRL + G | Toggle the drawing grid. |
| CTRL + SHIFT + G | Change the grid size (default: 10). |
| Left Arrow-key, Right Arrow-key, Down Arrow-key, Up Arrow-key | Move the selected object in the arrow key direction. |
| J | Align the selected objects respective of the first selected object. |
| S | Copy the Size of the first selected object to all the subsequently selected objects. |
| Spacebar | Automatically re-draw the selected connections. |
| ALT + Left-click | Selecting an object and ALT+ Left-clicking on an object’s label opens the label editor. |
| CTRL + A | Select all objects in the diagram. |
| CTRL + F | Find a symbol in the diagram. |
| B | Open the properties dialog for the selected object. |
| L | Display all properties and links in the Message window for the selected object. |
| SHIFT + A | Display all Audit information in the Message window for the selected object. |
| SHIFT + B | Open a dialog window with recently opened diagrams. |
| SHIFT + R | Open a new Repository Explorer tab. |
Work Arounds
Extend the syntax of a viewpoint
If the viewpoint of the model you are using doesn't have the elements you need ... you're working outside the standard archimate viewpoints and you need all the archimate elements. You can "Extand Syntax"
- Open the model
- Right click the white space
- Select "Actions", Select "Extend syntax"
- Voila!
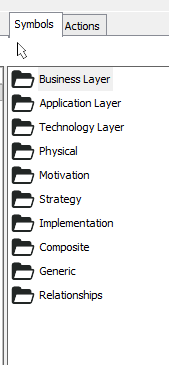
All the elements are now available on the right
Creating "Folders"
Alternate method to creating folders
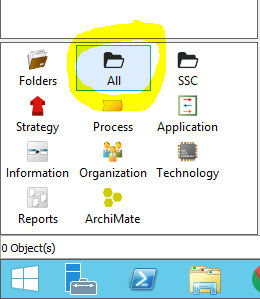
- In Qualiware, goto the "All" category
- In the Repository Explorer Window, click "Show all templates"
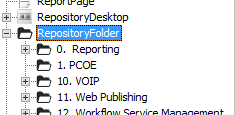
- Scroll down to "Repository Folder"
- Right click "RepositoryFolder" and select "New Folder"
